Installation Photo

Replacement Video
Links to YouTube
From a customer:
Donavan, just wanted to tell you what a fantastic product you have! This made my repair so easy. Also I appreciate how fast I received this product. Keep up the good work! I will be recommending this product to everyone I know. Take care and have a happy new year!
Nathan
Foundation Vent Screen Repair Kit - Instructions
2 Sizes, and 2 material types available (Galvanized and 304 Stainless Steel)
In Stock! - Usually ships next business day when ordered by 7pm


Ordering Information
For ordering options - tap the picture to select your size

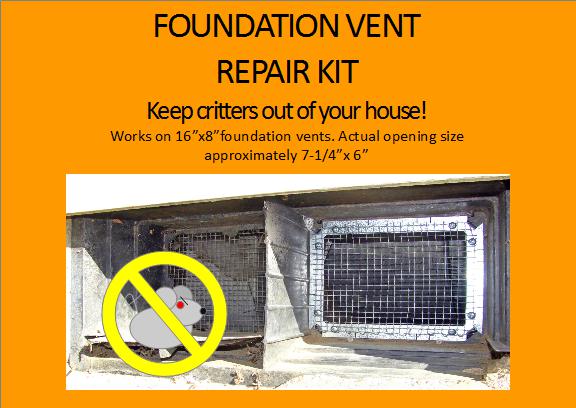
How can these kits help you?
If the mesh in your foundation vent is falling apart, use one of these screen repair kits to seal out the mice and rats. Repair your foundation vent mesh in minutes with just a pair of pliers and a screwdriver. A professional quality connection that will last and still keep the recommended airflow under your house. Don't just protect an investment, protect your home.
How this repair kit works:
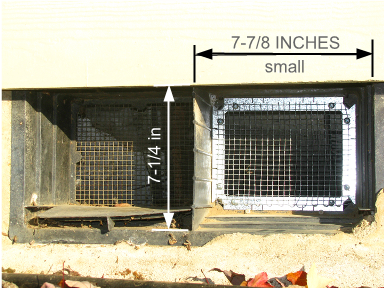
Designed to repair the screen in one side of a plastic foundation vent, the kind that come with built in covers. These vents are very prevalent in the Pacific Northwest and are commonly installed in houses that have been built around 1990 to the present. To know if this screen repair kit will work in your foundation vent, see the pictures above to measure your vent. Click the picture that matches what you measure on your vents.
Warning! Metal edges, screws, and mesh may be sharp. Wear gloves, and safety glasses when installing this repair kit to prevent cuts and scrapes.
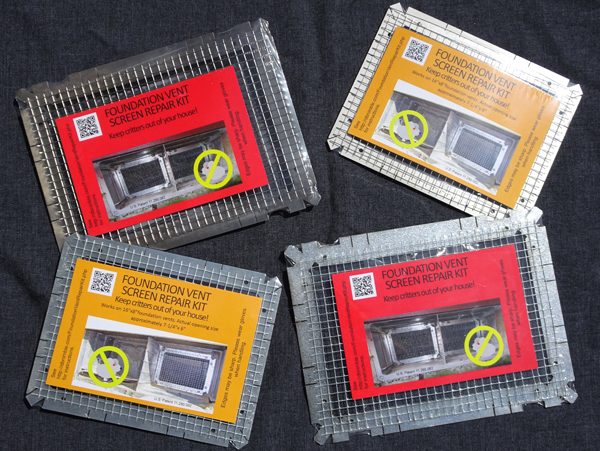
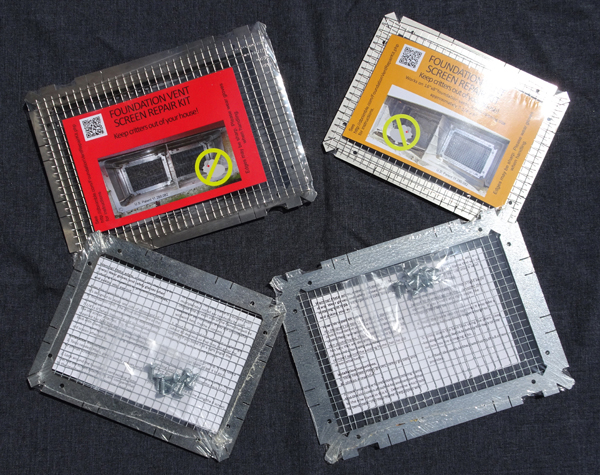
What's included in this kit:
- 1 Foundation Kit Screen Repair Frame - Galvanized or 304 Stainless Steel
- 1 Replacement Metal Mesh - Galvanized or 304 Stainless Steel
- 8 Sheet Metal Screws - Zinc Coated or Stainless Steel
Installation Instructions.
- Tools needed: Pliers, #2 phillips screwdriver, gloves (recommended), safety glasses (recommended), head lamp (optional), dust broom (optional).
- Sweep out any spiders / cobwebs / whatever with the dust broom. (If you can't get past this step because of the spiders, maybe you can pay your kids to do it.)
- Look around the foundation vent existing frame that the old screen attached to, and compare that to the new frame in this kit. Determine which tabs to bend back. This new frame is equipped with multiple tabs. Not all of the tabs need to be used, so choose one on each side of the frame that will be easiest for you to attach. If you are unsure what will work best, try the 4 corners.
- Bend the selected tabs almost straight (about 80 degrees) back so that they can enter the opening. If you go all the way straight back, the crimping step will be more difficult.
- Insert the frame into the opening. It may take a little bending here an there to get it to go in.
- Reach your pliers into the center of the frame and crimp down a bent tab by opening the pliers and placing one jaw on the old frame, and another jaw on the bent tab so that both the old frame and the bent tab are between the jaws of the pliers and squeeze. Keep squeezing until you feel it touching the back of the surface you are crimping it to. Do that for each bent tab.
- Attach the mesh to the frame using the 8 screws provided.